The Pictometry Widget allows users to view oblique imagery, while in the LINK-GIS map viewer. Follow these steps to use the Pictometry Widget.
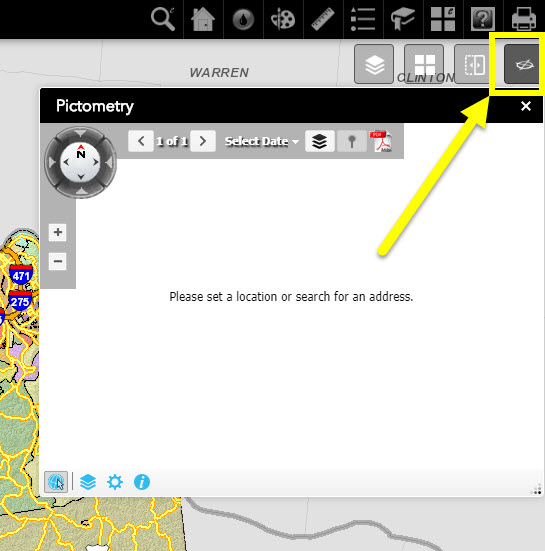
- While hovering over the Pictometry button, it reads “Pictometry”. The Pictometry button appears as a gray button with the Pictometry logo inside.
- Click on the Pictometry button, to open the Pictometry Widget window.
- With the window open, click on a specific location in the basemap, and the Pictometry Widget will open up the available oblique images in that area.
- With the oblique imagery open in the Pictometry Widget, click and drag in the widget to pan around.
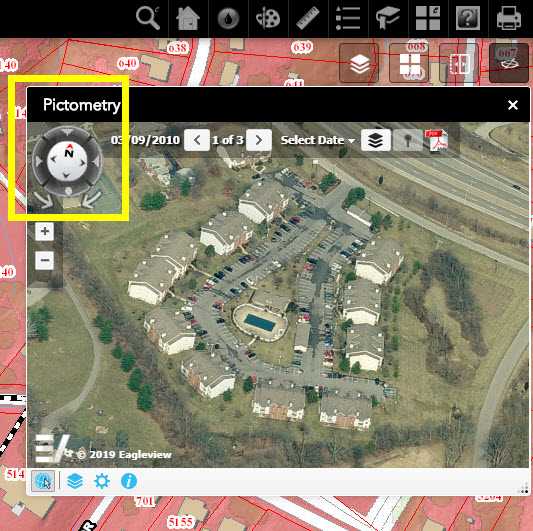
- Use the Directional Options Tool to view the oblique imagery from one of the four cardinal directions (North, South, East, West) or from directly above.
- To move the widget around the map viewer, click on the black band along the top
 of the (clicking the text in the name of the widget is OK). While holding down the mouse button, the widget is able to be re-positioned. Release the mouse button when the widget is in the desired location.
 - Resize the widget by clicking and dragging the the lower right hand corner of the Pictometry widget.
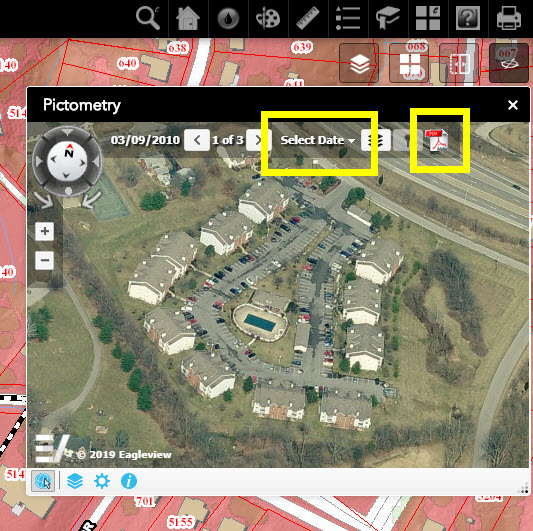
- Click the “Select Date” option to view the oblique images that are available over the past several years.
- Use the “Export Image to PDF” button to generate a PDF of the oblique imagery currently shown in the Pictometry Widget, window. This tool allows users to add a title to the PDF. An online PDF version is created, which can be downloaded or printed.
- To close the widget, click on the “X” in the upper right hand corner of the widget or click the Pictometry button again.


