
Search Widget
To begin exploring parks, use the Search widget, located at the top of the Park Finder map viewer toolbar.
 The Search widget(1) lets you find parks in different ways:
- By Location – enter an address or general area.
- By Name – type the name of a specific park.
Click directly on the Search bar (look for the magnifying glass icon) to get started.
You can filter your results using the arrow on the left of the search bar, this option allows you to search in the parks layer, local addresses for current official addresses, or the ArcGIS World Geocoding Service for general location searches.
Explore parks near your location with the “Use my location” widget (2) and (4).
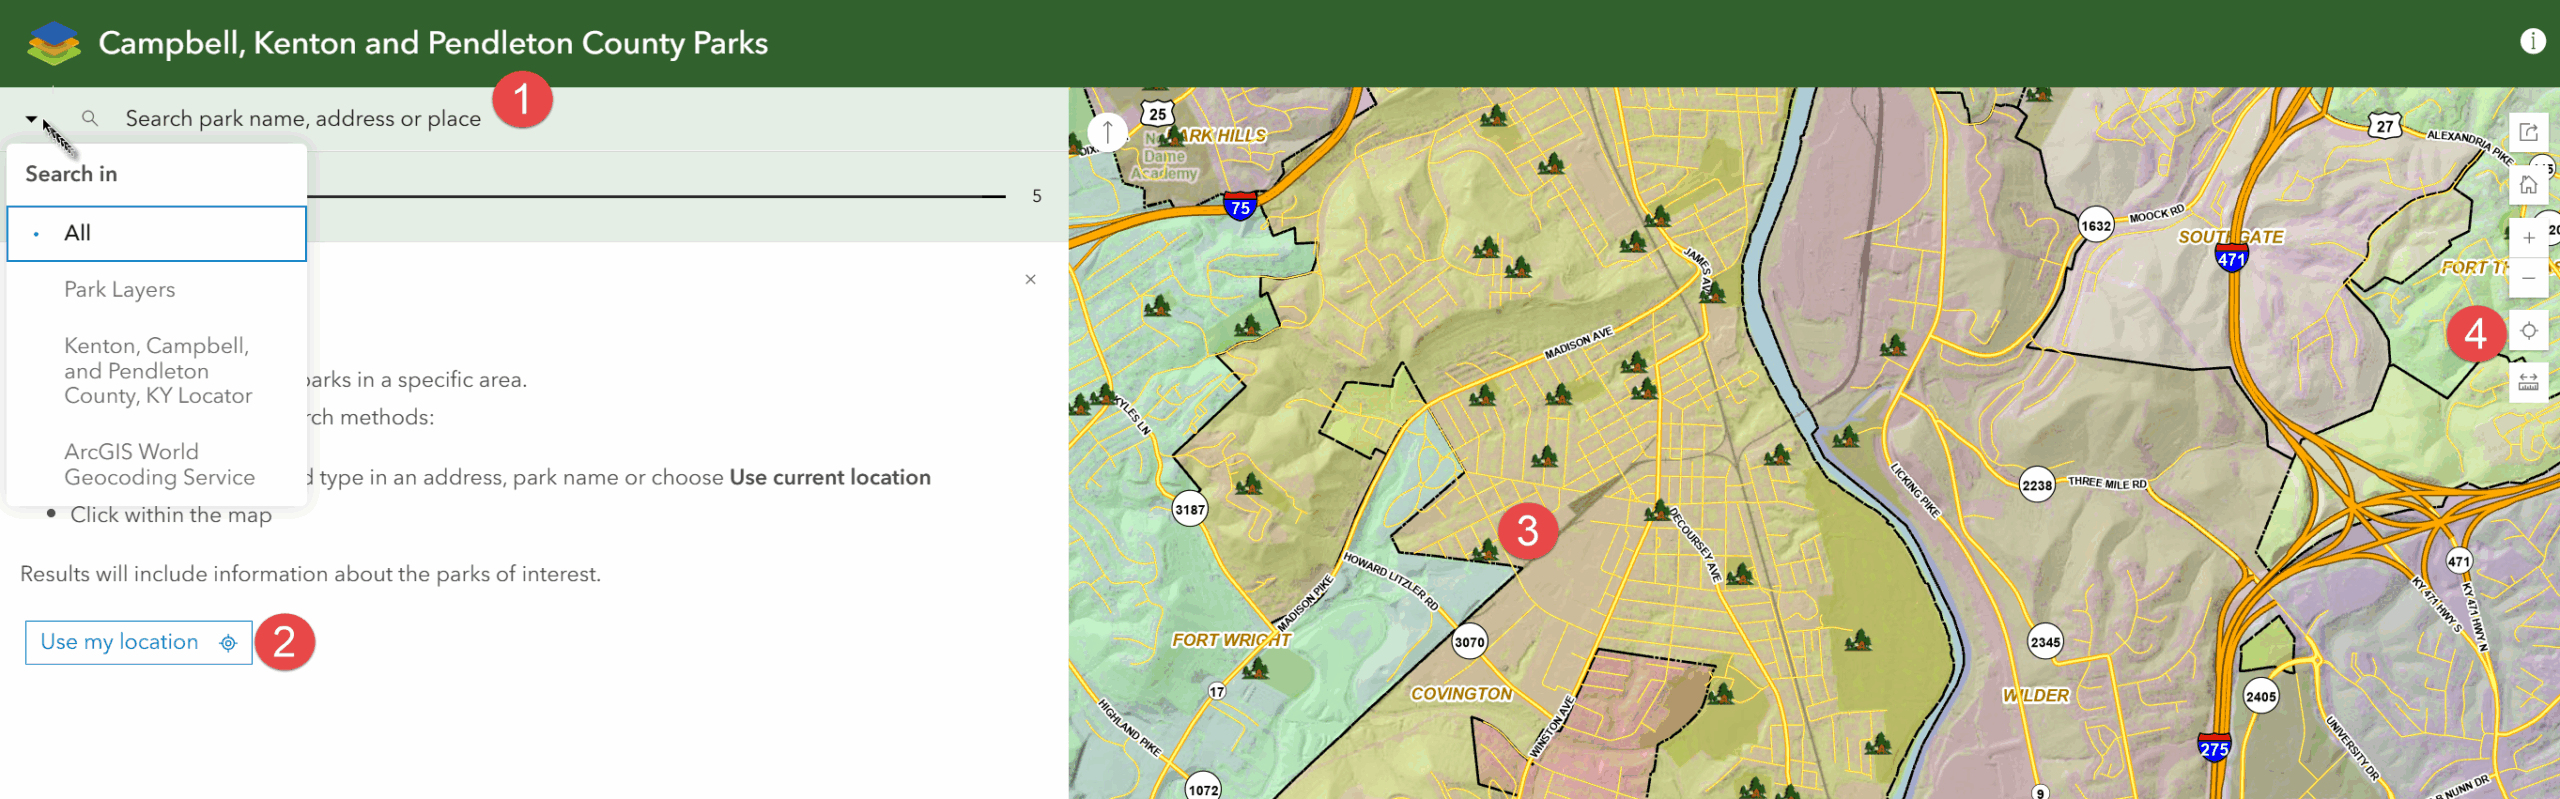
You can also find parks by simply exploring the interactive map (3)—use your mouse to scroll, pan, and zoom around the county. As you navigate, parks and their amenities will appear on the map and in the panel on the left.