
More Map Layers – Turning On and Off
Some data is added to the LINK-GIS map viewer by default. To add more data layers (e.g. schools, fire districts, parks) to the map or remove unneeded data, follow the steps below.
1. First, click on the Layers button, appearing as a gray button with the white stacked layers in it, on the upper right portion of the map.
2. While hovering over the Layer button, it reads Map Layers.
3. To expand a group to see the individual layers in a group, click on the gray triangle on the left side of the group name.
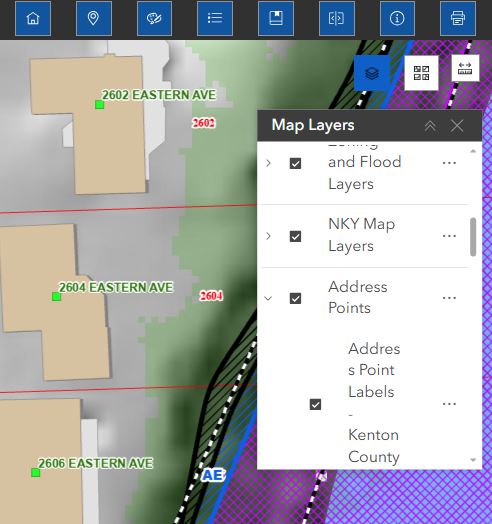
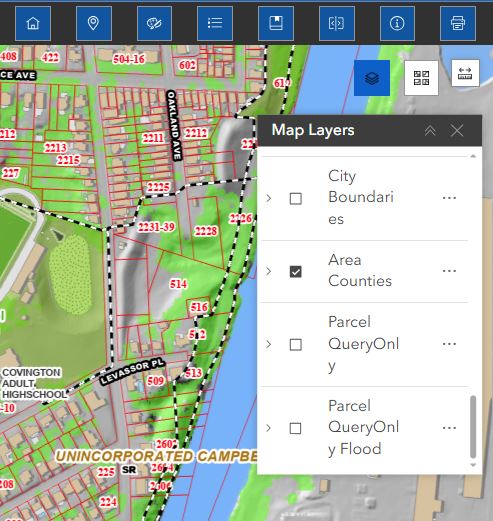
4. To turn a layer on, check the box next to the layer name. Also, make sure the box next to the group name is checked as well or the individual layer will not display. Uncheck the box next to a layer name to turn it off.
5. Use the scroll bar on the right side to navigate up and down the list of map layers and layer groups.
6. The order the group layers are in the list, is the order the layers are drawn on the map viewer.
8. To close the widget, click on the “X” in the upper right-hand corner of the widget or click the Layer button again.