Print Widget
The Print widget creates a printable map file from the current view of the Link-GIS Map Viewer, capturing whatever layers, basemap, and graphics are visible at the time. You don’t need the widget open to set up your map.
Before you print:
- Turn layers on or off to include only what you need.
- Switch the basemap if needed — for example, to aerial photography.
- Draw any graphics you want included. Anything drawn on the map will appear in the print file.
When the map looks right, you’re ready to print.
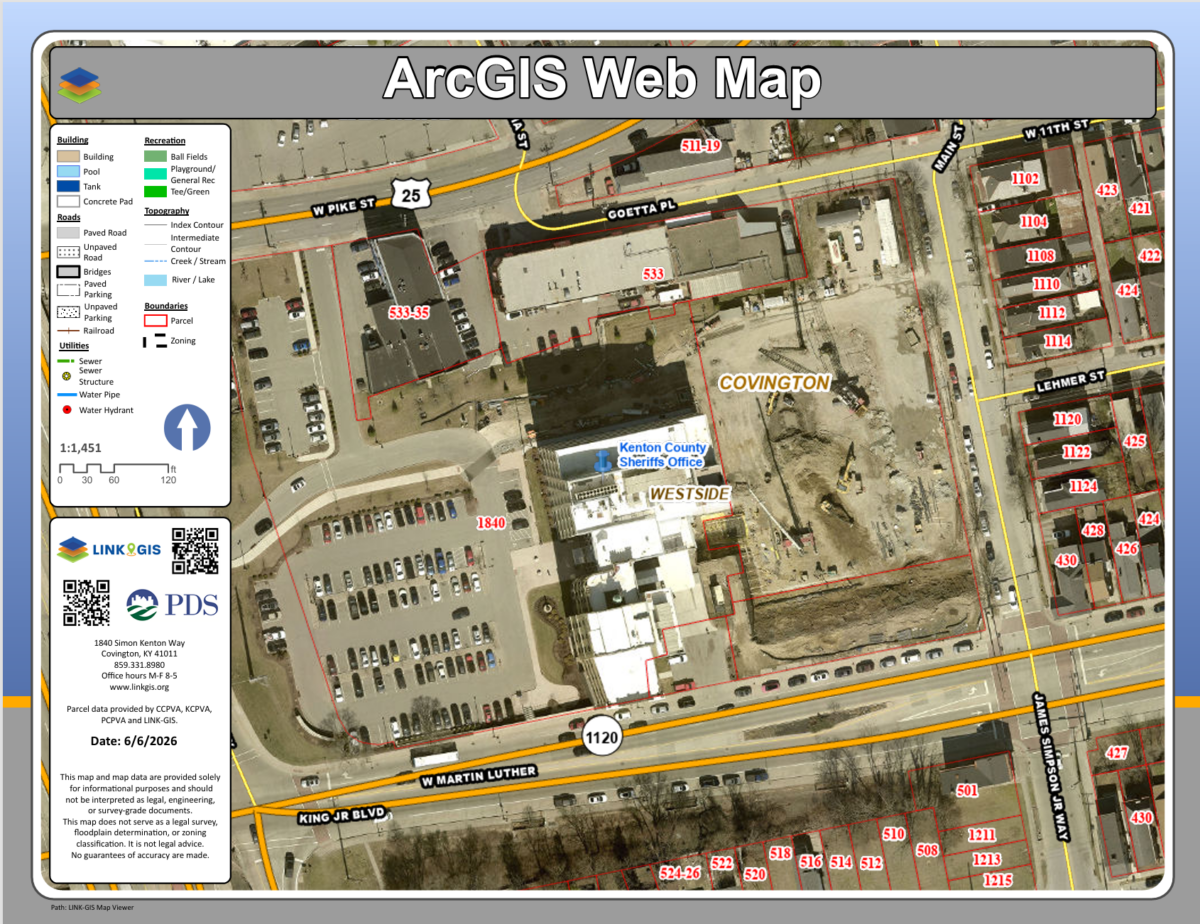
Opening the Widget
Click the printer icon in the toolbar to open the Print widget. The widget has two tabs, in the first one (opens by default) you set up the layout. The second tab stores the results.
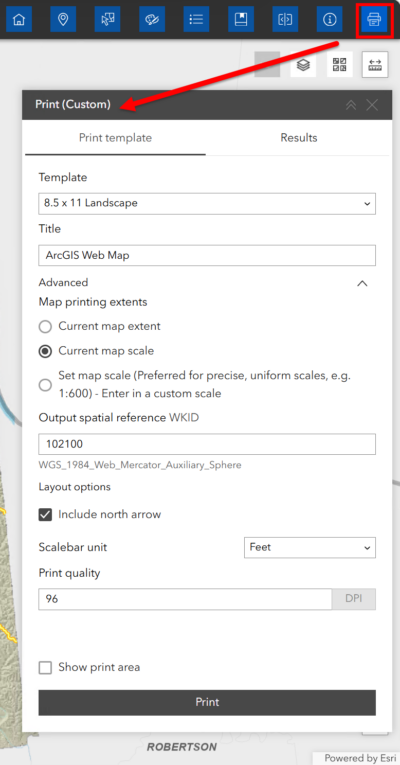
Tab 1 — Setup
Use the table below as a reference when configuring your print. When ready, click the button to generate the print file. Each job is saved separately — existing files are never overwritten.
| Setting | Description |
|---|---|
| Title | The name that will appear on the printed map and in the results list |
| Template | Choose the size and layout that fits your needs |
| Print quality | Higher resolution means better print quality |
| Show print area | Toggles a visual indicator on the map showing the area that will be printed |
| Map printing extents | Controls what area and scale are used for the print output |
| Scalebar unit | Set the unit displayed on the map scalebar |
| Output spatial reference | The projection or coordinate system used by the map layers |
Tab 2 — Results
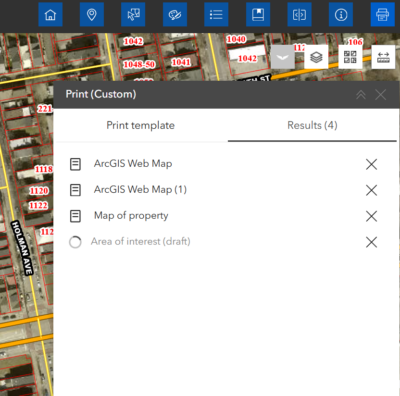
Completed print files appear here, listed by the title you entered. Each time you generate a new file, it is added to the list.
- Open a result — Click the link to open the file in a new browser tab. From there, use your browser’s print or save options to print or download the map.
- Remove a result — Click the × next to any result to clear it from the list. Refreshing the page will clear all results.