Location Information
The Location Information Widget allows users to view road information, find coordinates for a location in multiple coordinate systems, view oblique imagery and street view of a place, all while in the LINK-GIS map viewer. Follow these steps to use the Location Information Widget:
- Click on the Location Information widget.
- A dialog box will open and is active by default. Click anywhere in the map.
- After you click on the map, the dialog box will show you 4 new buttons for additional actions.
See the sections below — click to jump directly to each one: - To populate the dialogue box, you should choose one of the four options listed above.
- If you click on the map more than once, only the information about the last place you click on would be available.
- To close the widget, click on the “X” in the upper right-hand corner of the widget or click the Oblique Imagery button again.
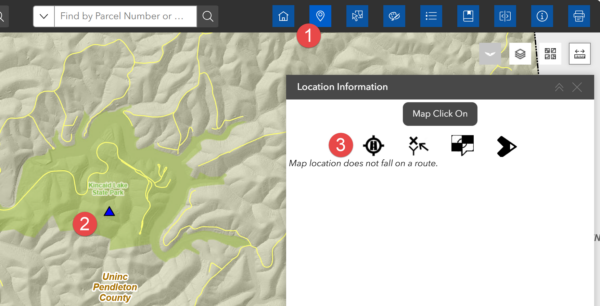
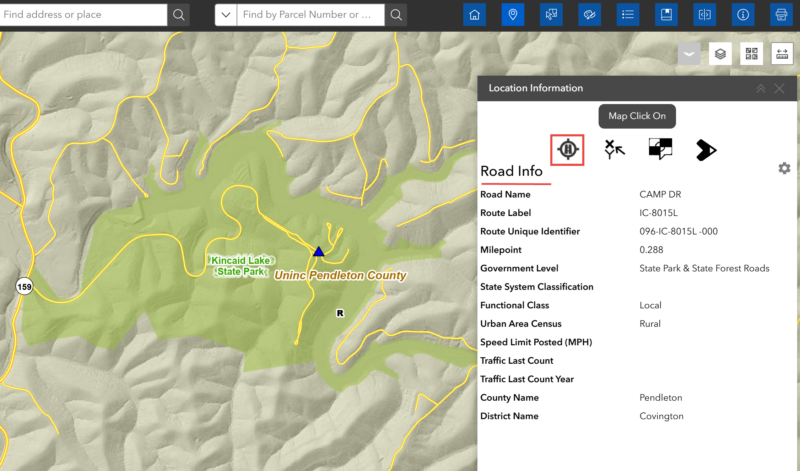
1. Road Info
If you click over a road, Information available about the road will be visible. If the site chosen is not close enough, it will let you know that the map location does not fall on a route.
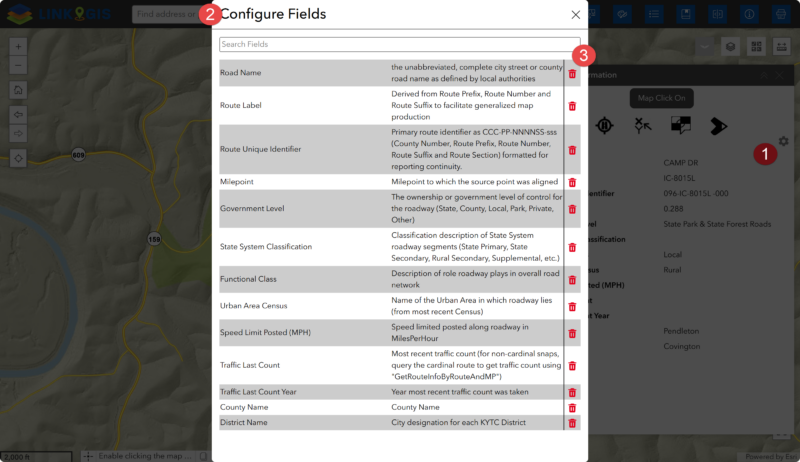
- The configuration gear (1) will give you context about the information presented in the “Configure Fields” dialog box (2) and the option to remove items from the list (3). This will update the fields shown in the main dialogue box “Location Information”.
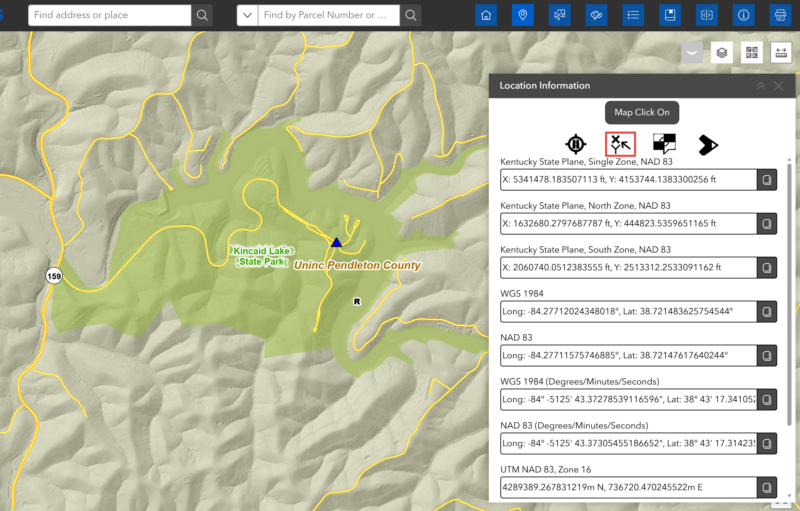
2. Coordinates
- Click on the second icon, which looks like an arrow pointing in the X and Y directions. This will display:
- North and East coordinates of your selected point (9 different coordinate systems are available)
- Elevation
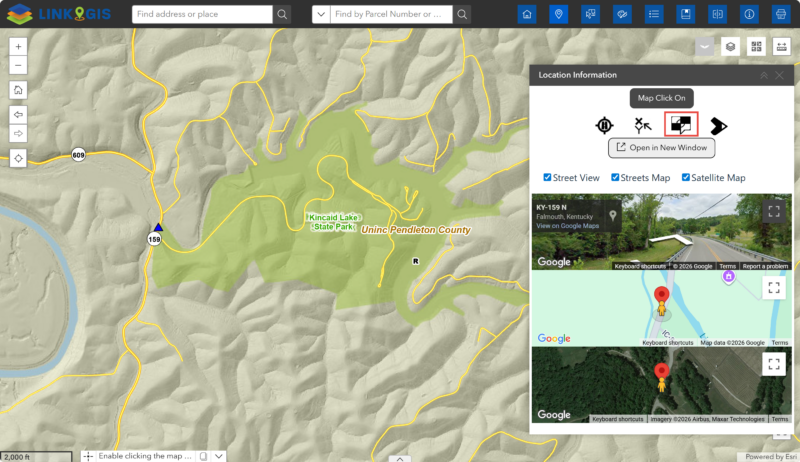
3. Dual Maps (Google)
- Street view, Street Maps and Satellite Map are all available for the location previously selected on the map.
- The dialog box can’t be resized at the moment. However, the option to open in a new window is available.
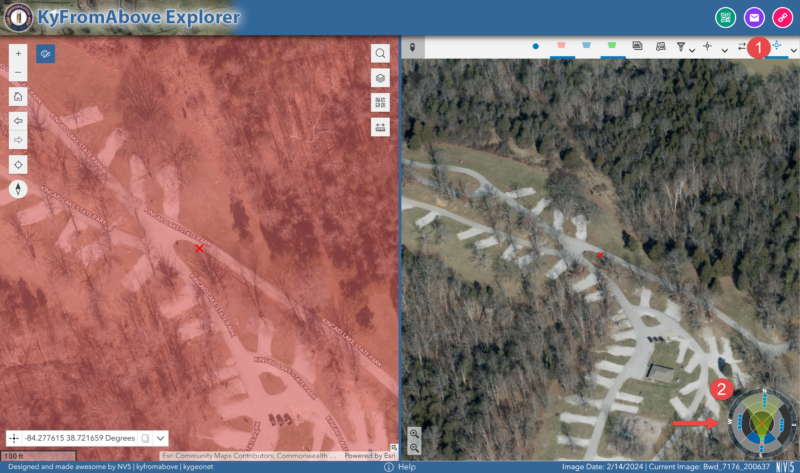
4. Oblique Imagery
- The last button on the right corresponds to the Oblique Imagery. If you click on it two small views will appear.
- The size of this window is fixed; however, you have the option to expand the view by open it in a new window.

- Click on the Navigation Tool button (1), this will open a new widget on the bottom right (2) that will let you to explore more images in different angles captured for the area.